Back in February, at our Creativation Open House we made this card with a Sizzix die called Happy Birthday Drop-In Card die that was due out in March.

The die has been hugely popular but we have had a few questions about how to cut it out so I thought I would do a quick tutorial. Thanks to Sandra H for the idea for this tutorial.
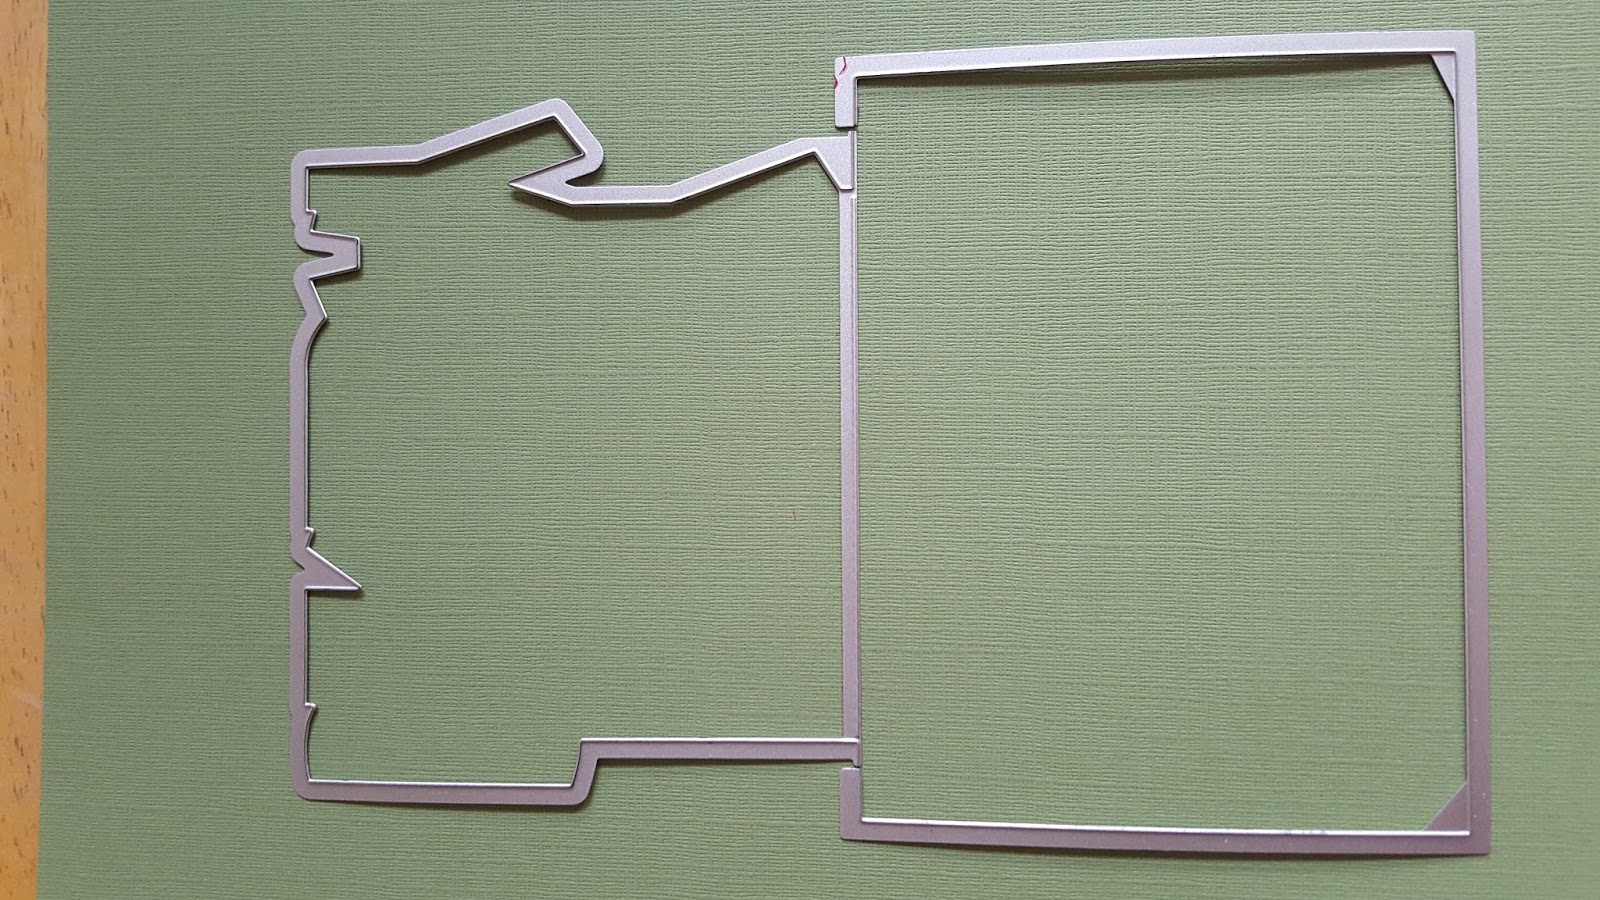
The die looks like this in the package:
It cut the card shape align the dies like this:
You want to make sure the bumpy side of the die is touching the paper. These photos show it the opposite way. I wanted to show you how the dies should line up but with the cutting part touching the paper!

I used my Big Shot Express (electric machine) to cut my shape. LOVE this machine BTW!
After cutting you will have a shape like this:
Cut out the Happy Birthday Die included in the package and you have a super quick card. Hope this helps. Stephanie Barnard has quite a few dies with this sort of design and they all work the same. So if you have already bought the die how are you using it??
Thanks for stopping by.